Hyderabadi chicken dum biryani

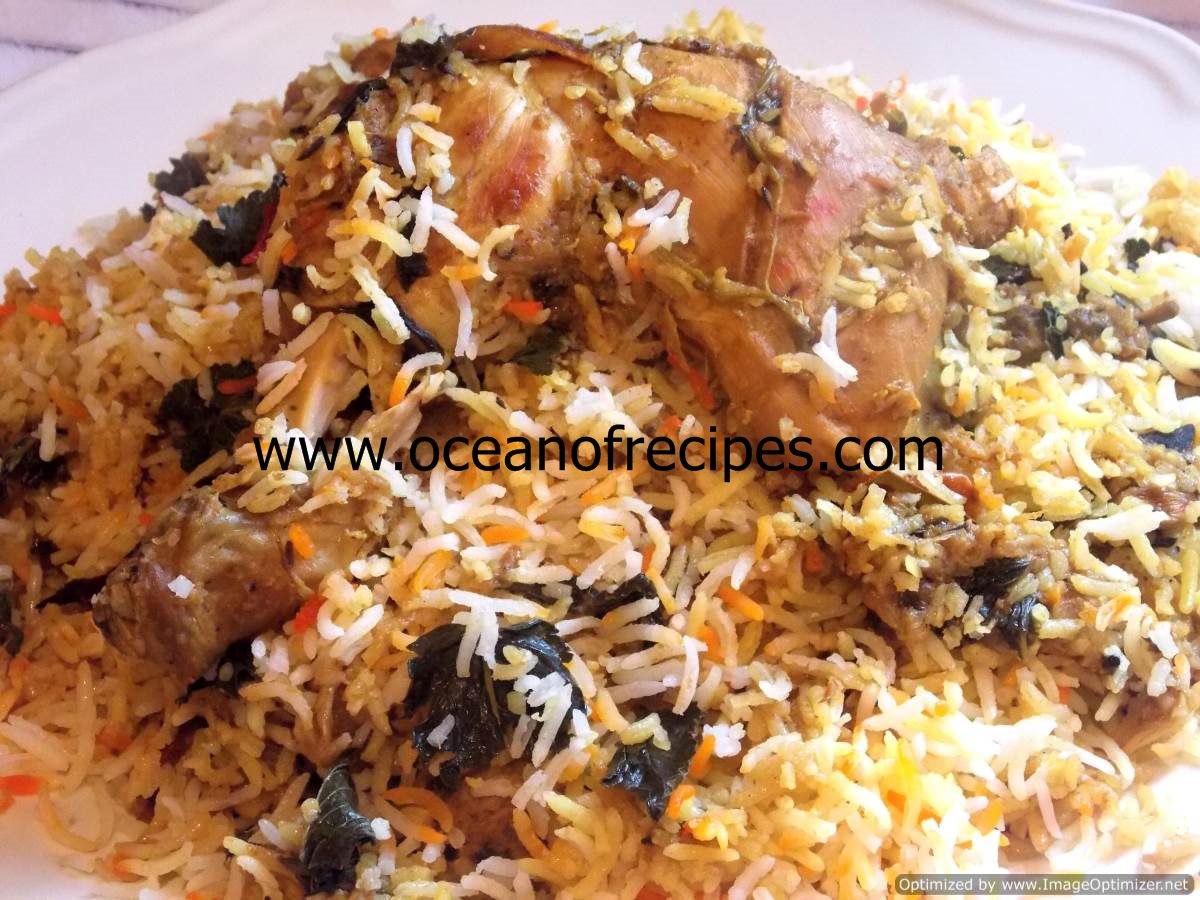
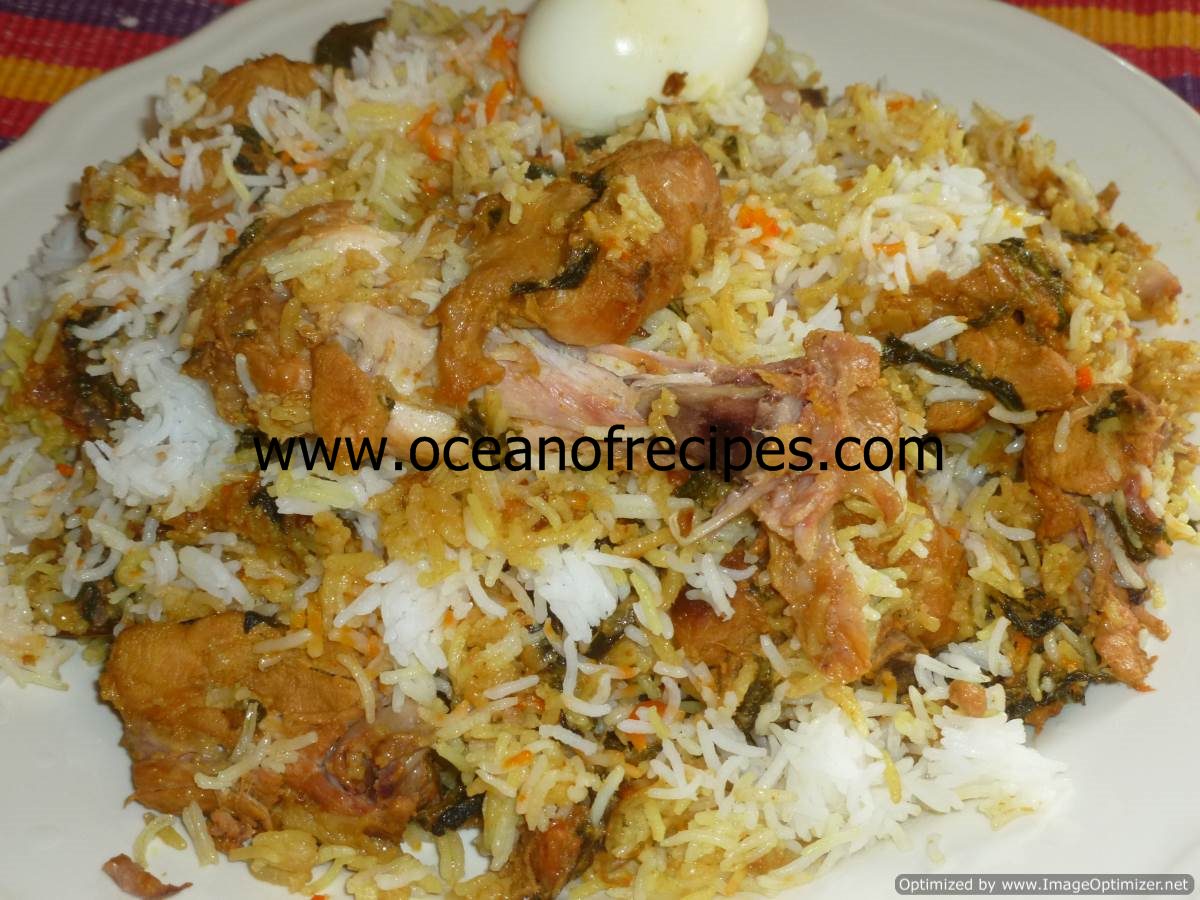
Hyderabadi chicken Dum Biryani is one of the most popular biryanis in South India. Chicken Biryani is one of the most popular Indian rice recipes all around the globe. Chicken marinated with spices overnight and cooked on dum with 50% precooked basmati rice, which gives wonderful aroma and taste to the Hyderabadi chicken biryani. The chicken gets the direct heat from the flame and the rice is cooked with steam inside, the method of cooking, also known as Dum method. It is a lengthy and elaborate process but it is worth the effort for the delicious taste at the end.

There are two ways to prepare Hyderabadi Biryani. One is pre-cooked meat method and we call it as pakki biryani. The other is raw meat method known as kacchi biryani. In both the methods, meat and half cooked rice are arranged in layers, and cooked until the rice and the meat are fully cooked.

In Hyderabadi chicken biryani I adopted raw meat method, kacchi biryani style. There are so many variations in hyderabadi chicken biryani and every one prepares accordingly. In my hyderabadi chicken biryani I have prepared it as per my taste. Kacchi biryani dum style is very easy if we know the rice cooking method that is 50% and then cooking on slow flame (dum) with appropriate flame. It depends upon the quality of the rice also. Make this delicious biryani and serve with mirchi ka saalan (green chillies curry), raitha and chicken 65 or any side dish you like.
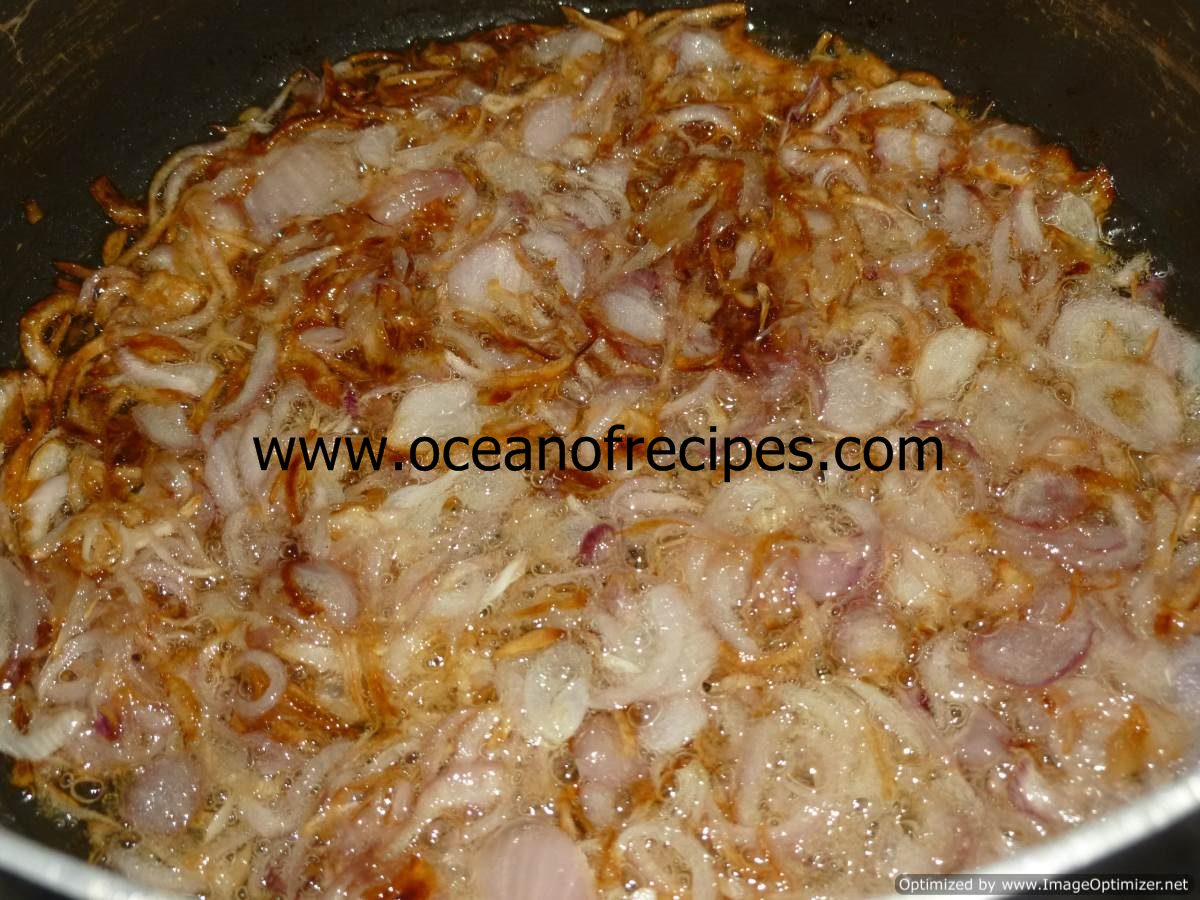
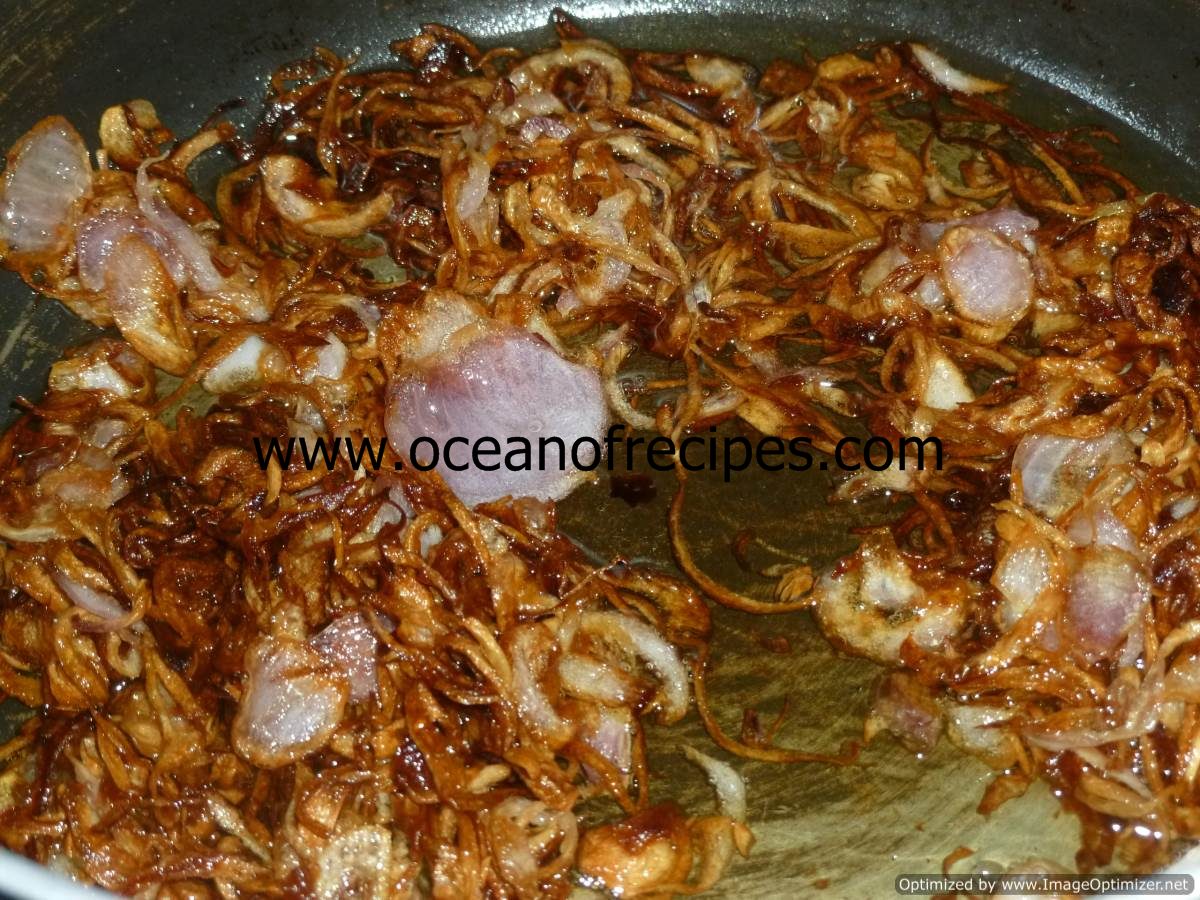
Preparation time: 1 hr

Cooking time: 1 hr

Cuisine: Hyderabadi

Serves: 5

Spiciness: Medium

Ingredients

  1. Chicken – 1 kg
  2. Frying onions

  3. Onions - 500 gms
  4. Oil - as required for deep frying
  5. For grinding spices

  6. Black pepper corns – 1/2 tsp
  7. Mace – 1
  8. Cloves – 5
  9. Green cardamom – 5
  10. Cinnamon (1 inch pieces) - 2
  11. Caraway or shahi jeera – 1 tsp
  12. For marinade

  13. Ground spice powder
  14. Fried onions - 3/4 (leave the rest for the garnishing)
  15. Ginger and garlic paste – 4 tbsp
  16. Red chilli powder – 2 tbsp
  17. Green chillies paste – 2 tbsp
  18. Mint (chopped) – 15 gms or 1 cup
  19. Coriander leaves (chopped) – 15 gms or 1 cup
  20. Oil – 1/2 cup
  21. Curd – 2 cups
  22. Salt - as required
  23. For cooking rice

  24. Rice – 700 gms
  25. Water - 2 litres or as required
  26. Salt - as required
  27. Bay leaves – 2
  28. Shahi jeera – 1 tsp
  29. Mace – 1
  30. Cloves – 5
  31. Green cardamom – 5
  32. Cinnamon sticks – 3 inches
  33. For garnishing/layering and dum (for each layer)

  34. Biryani colour (saffron) – a pinch
  35. Ghee – 3 tbsp
  36. Mint – few
  37. Coriander leaves- few
  38. Cardamom powder – 2 big pinches
  39. Fried onions – remaining

Method

  1. Chop mint and coriander leaves. Keep about a quarter of it for garnishing while giving dum.
  2. Grind the green chillies to a coarse paste in a mixer and keep it aside.
  3. There are four stages to cook the Hyderabadi chicken biryani.

    1. Marination
    2. Cooking rice
    3. Layering
    4. Dum

    Marination

  4. First put all the ingredients in a big vessel or any bowl, add all the marination ingredients and mix well.
  5. Add chicken pieces and mix well.
  6. Keep the marinated chicken for 4 hrs or overnight in the fridge.
  7. If you want, you can add the fried onions and mix during marination. I have not added fried onions to the marinade as I did not fry the onions in advance.
  8. The pieces of chicken should be of medium size and not very big.
  9. Frying onions

  10. Take a big utensil and add oil. When it gets hot, add bay leaves and stir. Then add onions and fry until soft and brown. It will take about 15 - 20 mins. You can close the lid and cook. When it is cooked, take 1/4 cup of fried onions and keep aside for use while layering the rice.
  11. Simmer and then add the marinated chicken with the marinade. Mix well with the onions.
  12. Cooking rice

  13. Soak the rice in water for about 1/2 hr.
  14. In a small piece of cloth, take all the spices - cardamoms, cinnamon, cloves, javitri (mace) shahi jeera and other ingredients, tie a knot to make a bag (potli).
  15. Bring 2 litres or required amount of water to boil. Add the spices potli, cover and cook for about 10 to 12 minutes. Simmer for about 10 minutes. Now the water is full of flavour.
  16. Drain the water & remove the whole spices potli.
  17. When the water starts to boil, add rice and salt. Boil for about 5 mins only. The rice has to be cooked roughly about 50%. Rinse under cold tap water to stop further cooking.
  18. While boiling, do not stir very often as the grains may break. The grains will be longer after cooking, but still raw.
  19. Layering (mixing gravy and rice)
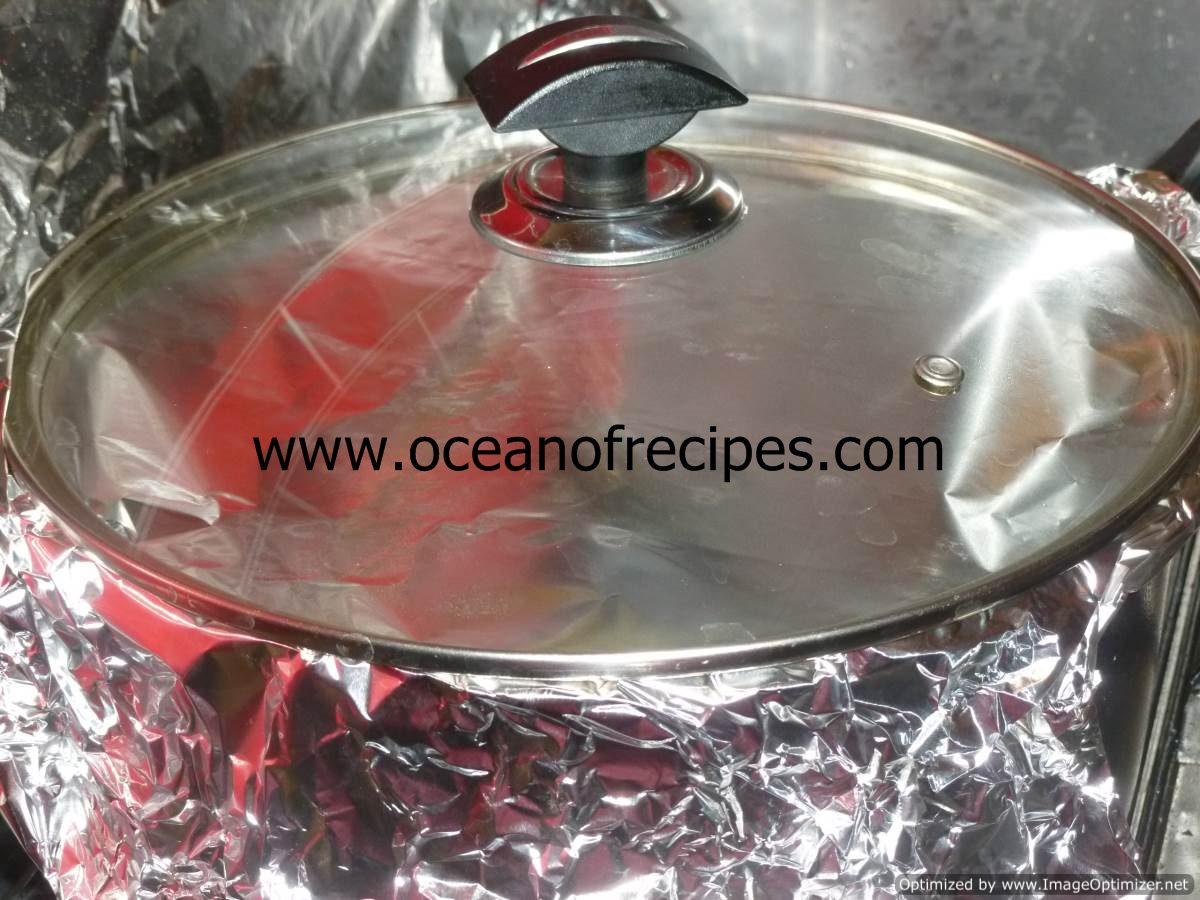
  20. Grease the vessel in which biryani has to be cooked before adding chicken marinade.
  21. When the steam starts to come from the chicken (chicken is heated up nicely), add the rice and spread evenly.
  22. Sprinkle biryani colour on the rice. Add fried onions, mint, coriander leaves and ghee.
  23. Dum process

  24. After the layering is done, keep the flame to high for about 5 mins until you see some steam coming from the corners below the rice.
  25. Now immediately put the flame to simmer and then cover the biryani vessel with aluminium foil and close the lid tightly.
  26. After closing the lid, put the flame to high and cook for about 5 mins. Then lower the flame and cook the biryani for about 30 mins.
  27. The sign of whether the biryani is cooked and ready is when you can smell its aroma from the nearby rooms.
  28. Switch off and let it rest for 15 mins. Do not open the lid immediately because the steam inside the vessel will continue to cook the biryani.
  29. When the biryani is cooked, you need to be careful while serving. Take the biryani out with a wide spoon or a saucer slowly from one side to prevent the rice grains from breaking.
  30. Serve it with raitha or mirchi ka saalan (chilli curry) or brinjal curry (chutney) or with chicken 65 as a side dish.

Notes

  1. You can reduce the chillies if you do not eat spicy food or if your chillies are very hot.
  2. Rice should be only 50% cooked. While cooking the rice you can add a few drops of oil or vinegar and while draining wash it under cold water. This will keep the rice grains all nice and separated.
  3. Rice has to be cooked in advance and kept aside, readily available for layering.
  4. You can buy ready made biryani masala. If you want to make it yourself, refer to my biryani masala recipe.
  5. Add salt carefully for the marinade and rice. Divide the salt quantity to portions and add as it will be easier this way and will not risk adding more salt.
  6. I grind my ginger and garlic with whole spices to make my ginger and garlic paste. Refer to my ginger and garlic paste recipe.
  7. Mix colour with 2 tbsp of water or milk and then add to the rice. Alternatively, you can even just sprinkle the colour on the biryani. You can also use saffron instead of the colour.
  8. While giving dum you can keep a flat tawa beneath the vessel or even better if the utensil has a thick bottom. This will prevent the biryani from sticking to the bottom of the utensil. I have used a non stick vessel, so I did not use a tawa while giving dum.
  9. I have added tomatoes to this chicken dum biryani, but you can avoid if you do not want to add.
  10. For making any biryani, you can maintain from 2:1 to 1:1 chicken to rice ratio. For example, you can use 500 gms to 1 kg of chicken for 500 gms of rice. Obviously, you need to adjust the spices appropriately.
  11. I have cooked my biryani in oil and only drizzled a little ghee on top of the rice while layering. You can choose the proportion of oil and ghee and also how much according to your liking.
  12. Shahjeera is also known as black cumin seeds (kala jeera). If black cumin seeds are not available, you can use caraway seeds. The caraway seeds also belong to the cumin family. Shahjeera is darker in colour and thin. Some also say both are same.
  13. While layering you can also mix the layering ingredients with the half cooked rice. Mix it partly so that some white rice is still seen. Add this rice to the gravy and spread evenly in the vessel you want to use to give dum.
  14. Biryani vessel can be sealed with the lid by using a wheat dough and then dum can be given on a low flame.